For my next banner panel, I cut out the skeleton from Happy Hauntings. I can't wait to get them all completed and then put together. I hope my sister likes it!
Here's what all the layers look like on my Gypsy, ready to connect to my E2 for cutting.
Here are all my Stampin' Up! cardstock pieces, lined up on the mat to be cut w/E2.
A close up of Mr. Bones. I used Glossy Accents on the "bone" to give it dimension.
And of course, the final product! Another panel for the banner!! Thanks for looking! Feel free to contact me with questions or comments! Until nex time..........

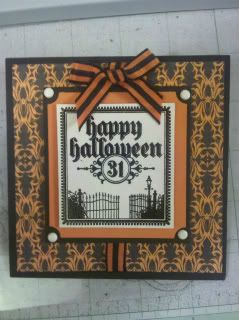 Wanted to try making an easel card. I've seen so many cute ones.
I used Stampin' Up! cardstock and Designer Series paper. The image stamp is also, SU!
The ribbon is from Michael's and the sentiment inside is from Pink by Design's "A Haunting we will go" set.
The shape border is a Martha Stewart Punch. I used black embossing powder on the image stamp. Gives it a bolder look. The finished card measures 4 1/4 x 4 1/4. Hope you like!!!
 I was totally inspired by the ladies who are doing the Blog Hop for the Specialty hospital for children with special needs. They are making halloween banners and sending cards for all the children who are stuck, sick in the hospital. You should check out their hop!!
Here's the link to their Blog Hop: http://www.cardmonkey-business.blogspot.com/
Well, I'm making my banner for my sister, who throws a big Halloween Bash every year! (I will be sending a card for the children, too.) It's always so much fun. The adult girls and children always dress up, the men are too "grown up!" Ha!! On to the project!!
I was totally inspired by the ladies who are doing the Blog Hop for the Specialty hospital for children with special needs. They are making halloween banners and sending cards for all the children who are stuck, sick in the hospital. You should check out their hop!!
Here's the link to their Blog Hop: http://www.cardmonkey-business.blogspot.com/
Well, I'm making my banner for my sister, who throws a big Halloween Bash every year! (I will be sending a card for the children, too.) It's always so much fun. The adult girls and children always dress up, the men are too "grown up!" Ha!! On to the project!!
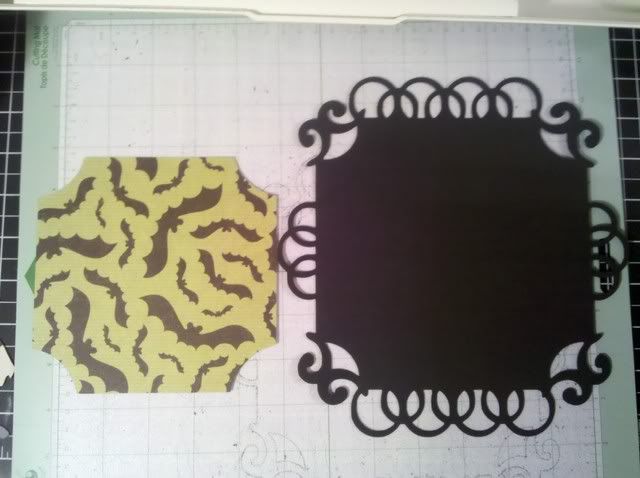 Sorry, forgot to show pics on the G. Used Happy Hauntings pg. 46 for the background. The black layer was cut after I used the G to delete the inside that was intended to be cut away to frame the haunted house, for the green layer, I used the same cut and deleted everything except the inside.
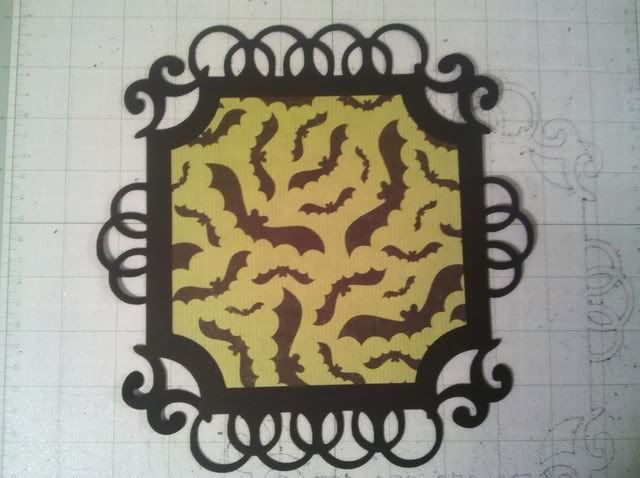 ATG'd together. You get a batty, background!
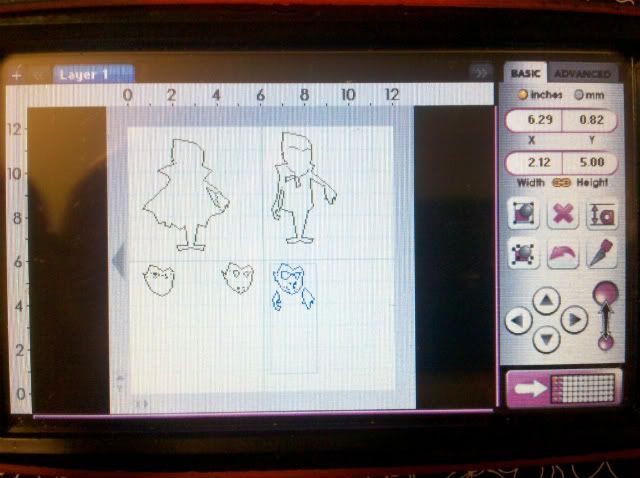 Here's my G with the images I plan to cut w/my E2. I never use my cartridges. My G is always my bestest helper!
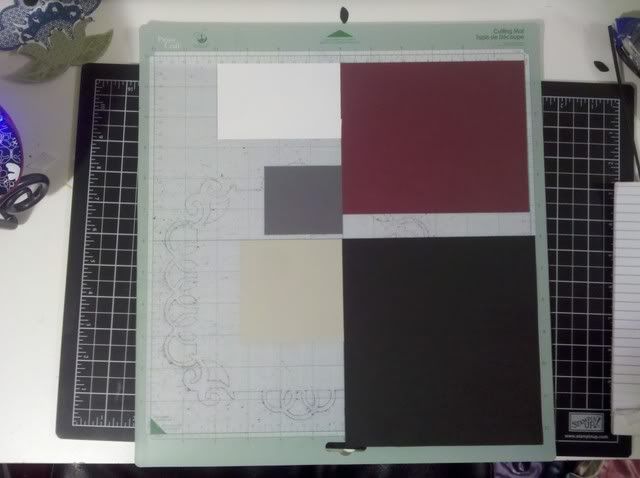 Here's my mat, all papered up and ready to cut out my dashing vamp!!!
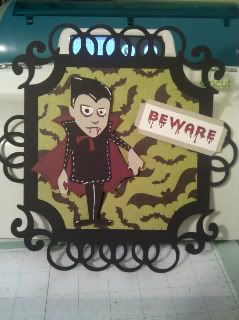
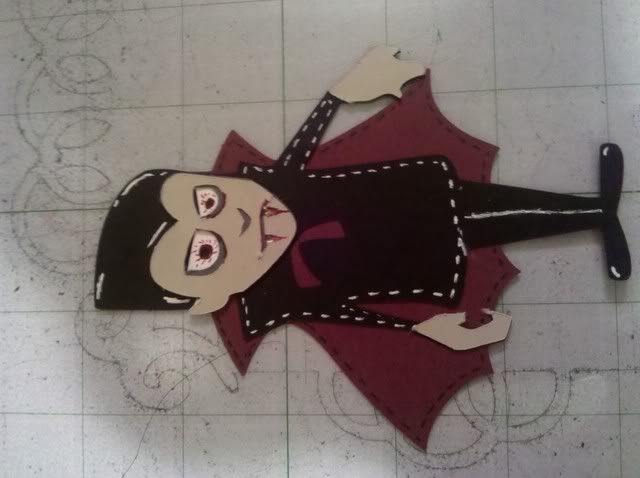 And here's the Count all glued together with a little embellishing! Isn't he Charming, except for the fangs, and the blood.........
 And of course, the finished product. I used a Martha Stewart stamp for the Sentiment and SU Cherry Cobbler ink! This is only one panel for the banner. I will post them all, as I get them made.
Thanks for looking. I hope you enjoyed. If you have any questions, fell free to contact me.
And of course, the finished product. I used a Martha Stewart stamp for the Sentiment and SU Cherry Cobbler ink! This is only one panel for the banner. I will post them all, as I get them made.
Thanks for looking. I hope you enjoyed. If you have any questions, fell free to contact me.
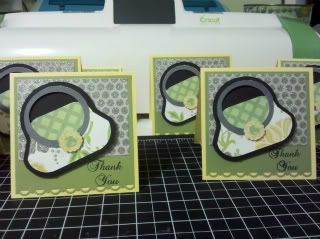 I made these cards to give to friends who ordered from the Thirty-One Event I hosted. I thought it would be cute to give them "Thank You" notes with a purse on them since Thirty-One has such awesome bags, purses, and totes!
Items Used: Cricut Cartridge Paisley
SU Scallop Punch
ATG gun
SU dimensionals (button on purse)
Pop dots (purse to card)
Score buddy
SU Daffodil Delight Cardstock, Cut at 4" x 4"
SU Old Olive Cardstock, Cut at 3 3/4" x 3 7/8"
(use punch on this length)
DCWV Lemon Flower Stack; used to make
purse and on card background
MPS Everyday Life set for: Thank You
SU Basic Black Ink
I made these cards to give to friends who ordered from the Thirty-One Event I hosted. I thought it would be cute to give them "Thank You" notes with a purse on them since Thirty-One has such awesome bags, purses, and totes!
Items Used: Cricut Cartridge Paisley
SU Scallop Punch
ATG gun
SU dimensionals (button on purse)
Pop dots (purse to card)
Score buddy
SU Daffodil Delight Cardstock, Cut at 4" x 4"
SU Old Olive Cardstock, Cut at 3 3/4" x 3 7/8"
(use punch on this length)
DCWV Lemon Flower Stack; used to make
purse and on card background
MPS Everyday Life set for: Thank You
SU Basic Black Ink