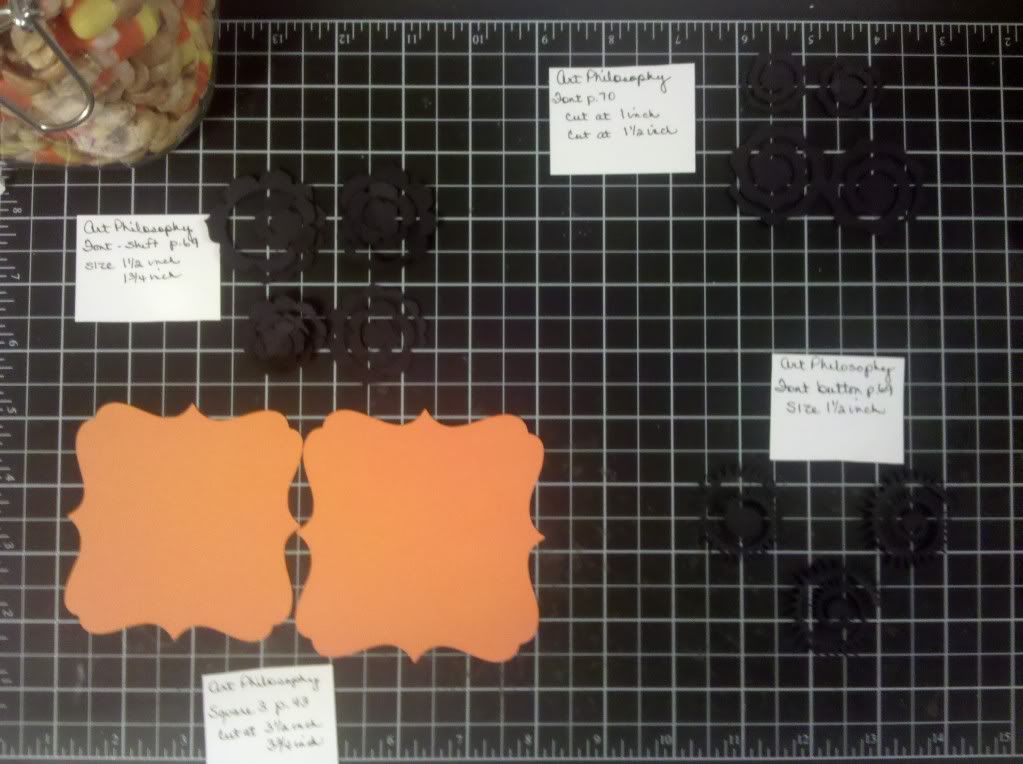
Hey! Today I am posting my first challenge as a Design Team member of the new "Exploring Cricut" Challenge Blog! Our challenge was to use the square 3 on page 43 of the Cricut Art Philosophy Cartridge and at least 2 of any of the flowers from the cartridge. Since I don't own Art Philosophy (boo-hiss!), Diane had to cut the pieces for me and send them in the mail. Luckily, I got them on Friday! For my flower cuts, I chose the 2 using the font button on page 69 and the first one using the font button on page 70. Thanks, Diane!
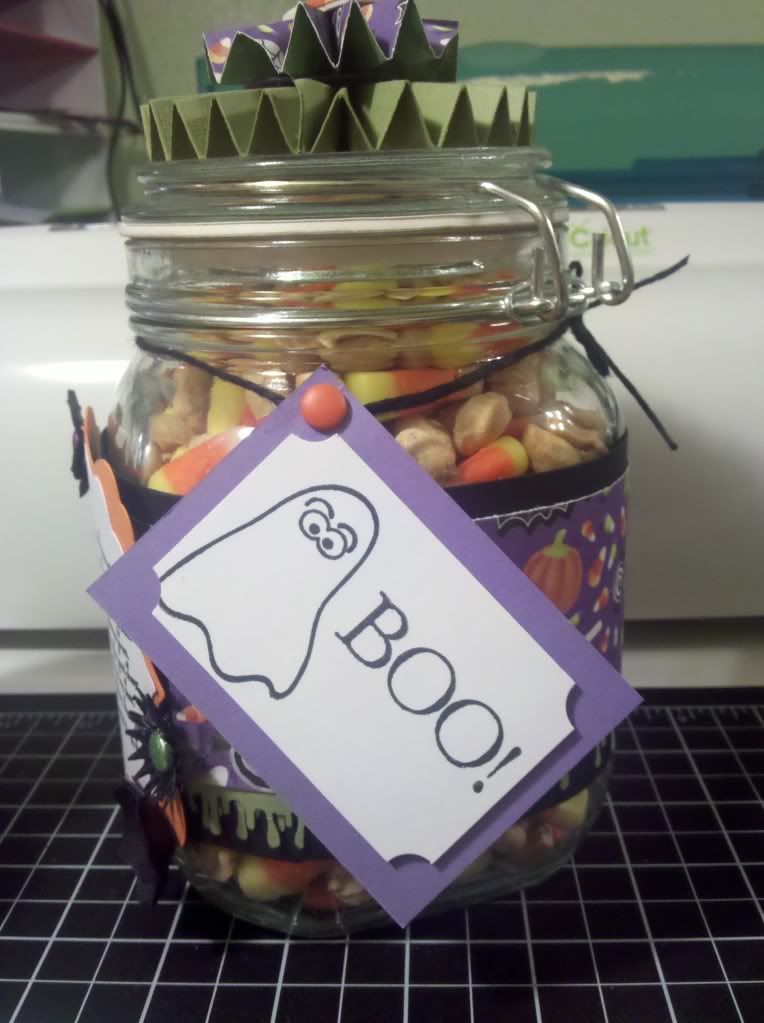
I made this treat jar and card to give as a gift! If you like Payday candy bars, you need to try this out!
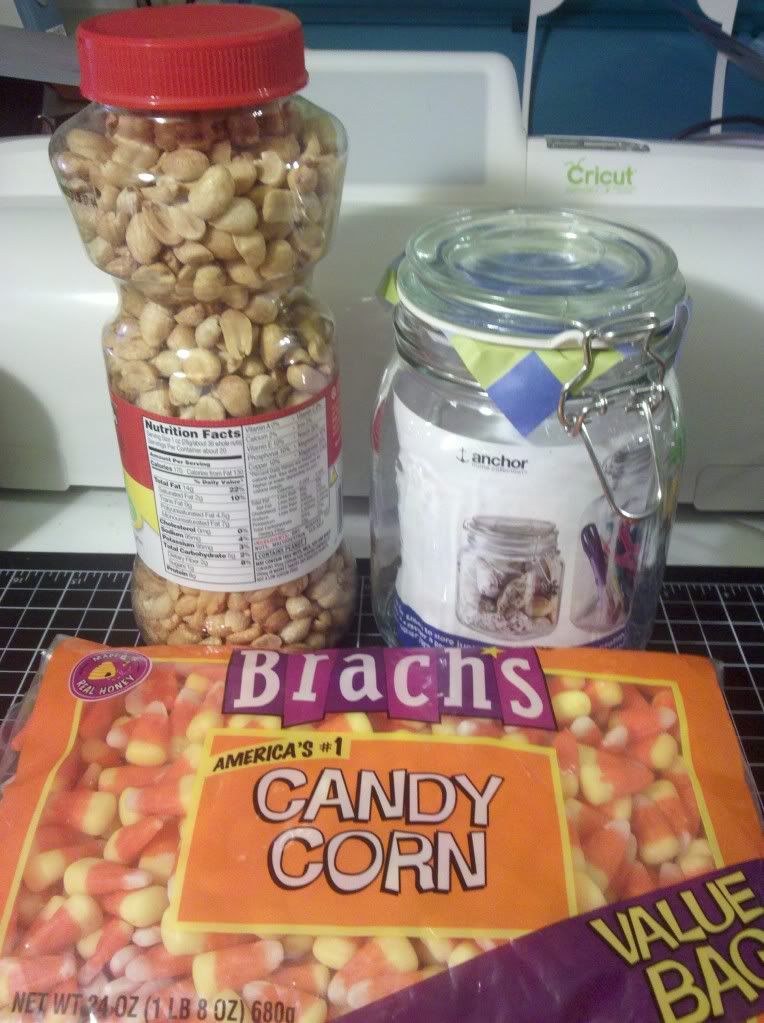
Here is the "treat." Mix equal parts dry roasted salted peanuts and candy corn. I put them in this airtight container I picked up at Michaels. Can't give someone a plain container...time to decorate.
These are the cuts Diane sent me in the sizes I asked for. (Note to self, NEVER cut these flowers this small. LOL)
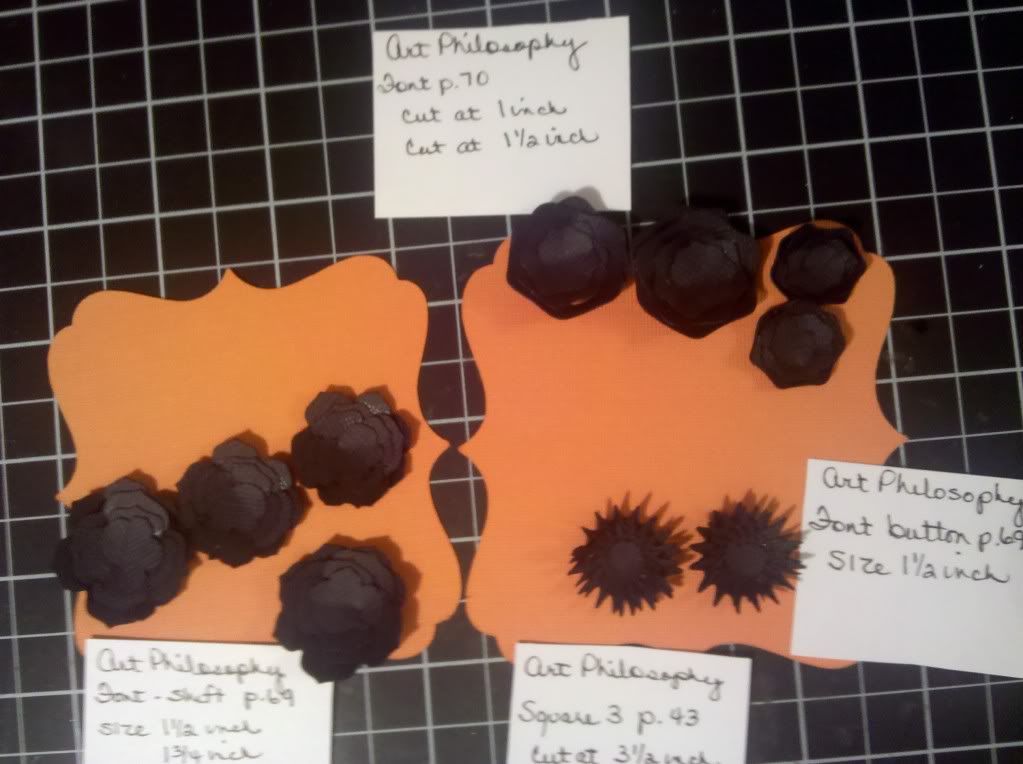
Well, I did manage to get the flowers put together, along with my fingers, using a zip dry glue pen.
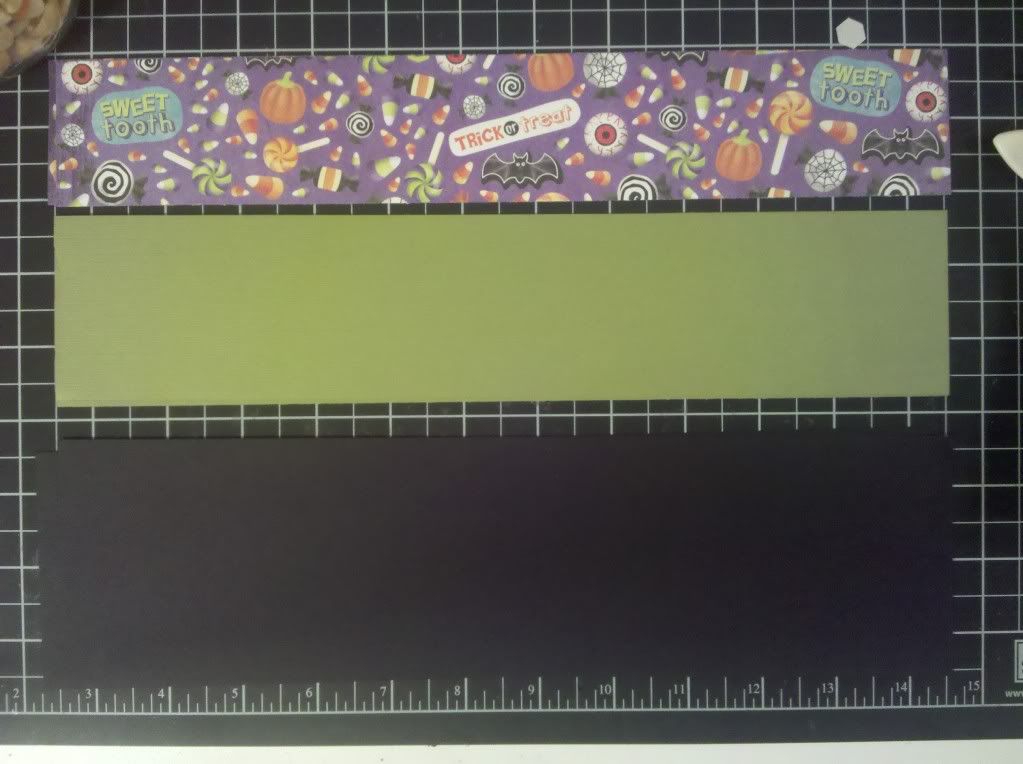
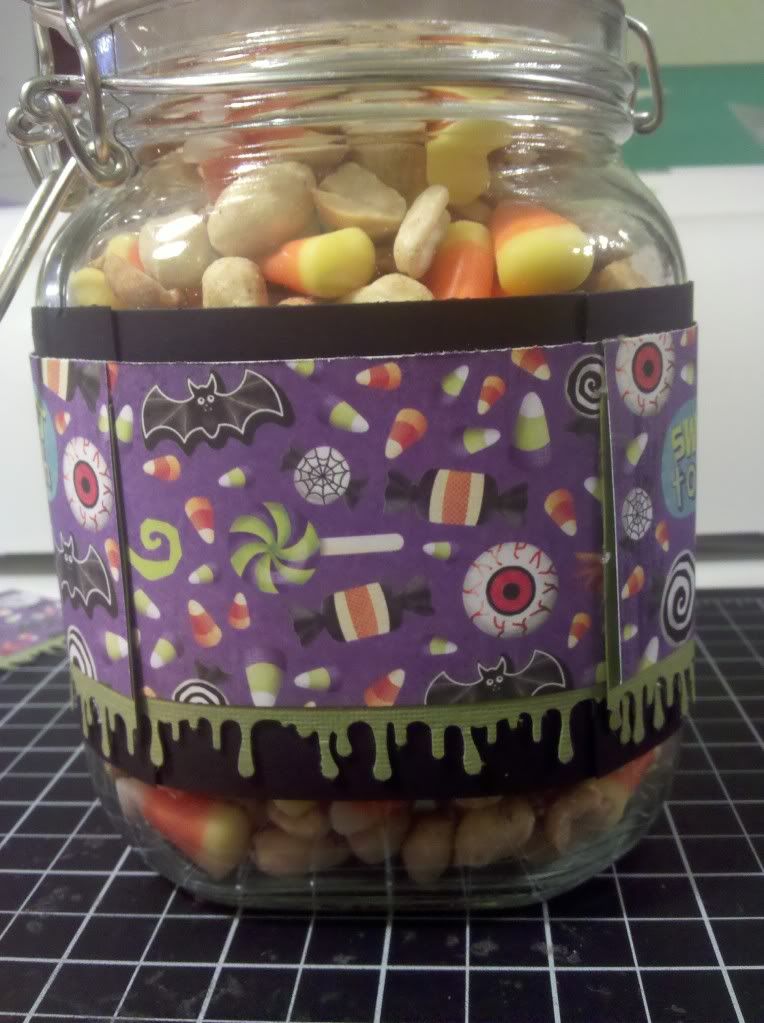
I cut Stampin' Up! Basic Black and Old Olive cardstock and K&Co. Halloween patterned paper to wrap around the jar.
I used the Martha Stewart Drippy Goo punch to make the olive cardstock look like slime. Of course I used my trusty red ATG gun w/the Acid Free tape to adhere the cardstock to the jar. Yes I have 2. A pink one that has the regular tape and a red one that has my acid free tape.
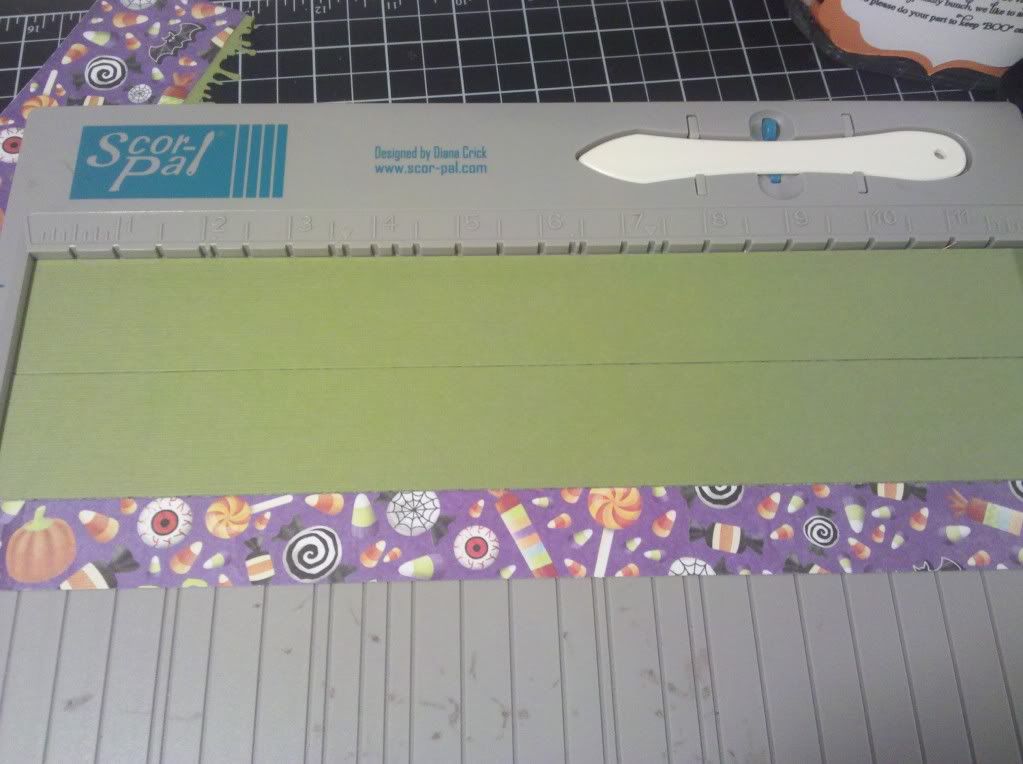
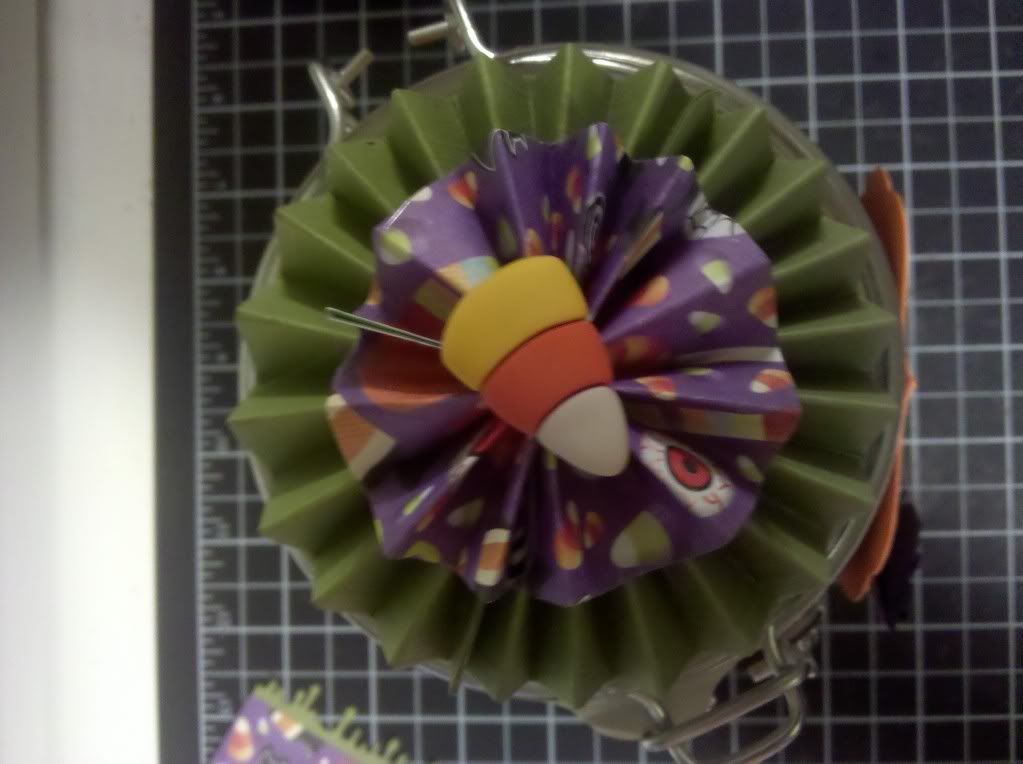
Wow, I need to clean my ScorPal. Used it to score the cardstock to make a rosette for the top of the jar using K&Co. patterned paper and Old Olive cardstock.
I had some Halloween decorative pieces and I found a piece of candy corn that I added to my rosette.
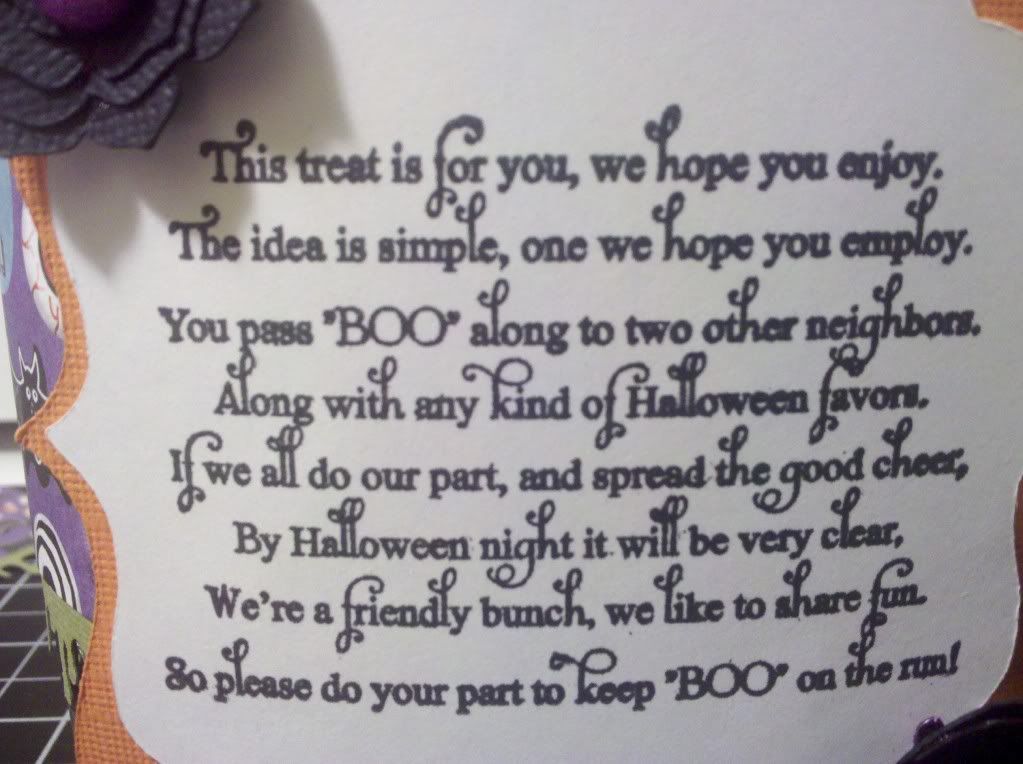
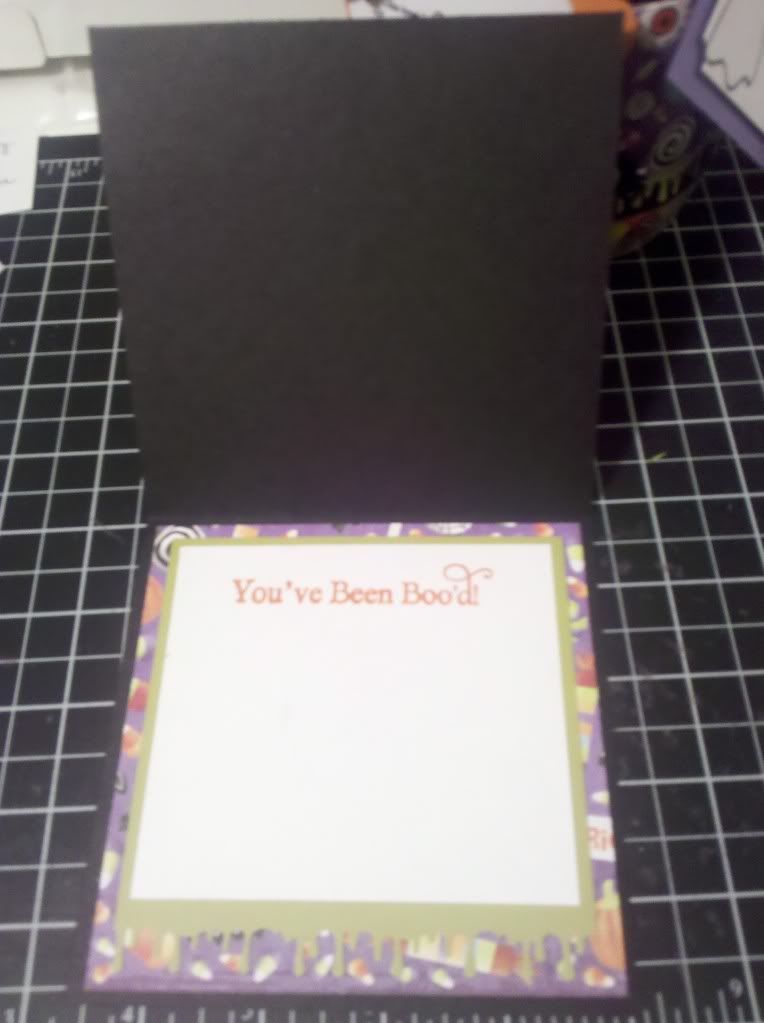
I cut a square as close to the same pattern as the Art Philosophy cartridge from SU Whisper White cardstock using the Cricut Lite Lacy Labels cartridge. I stamped the poem on the White square using a stamp from PaperTrey ink from the Been Boo'd set. I also stamped the ghost and BOO from the same PaperTrey Ink set on SU Whisper White paper and backed it with some SU purple cardstock (that I don't remember the name of)
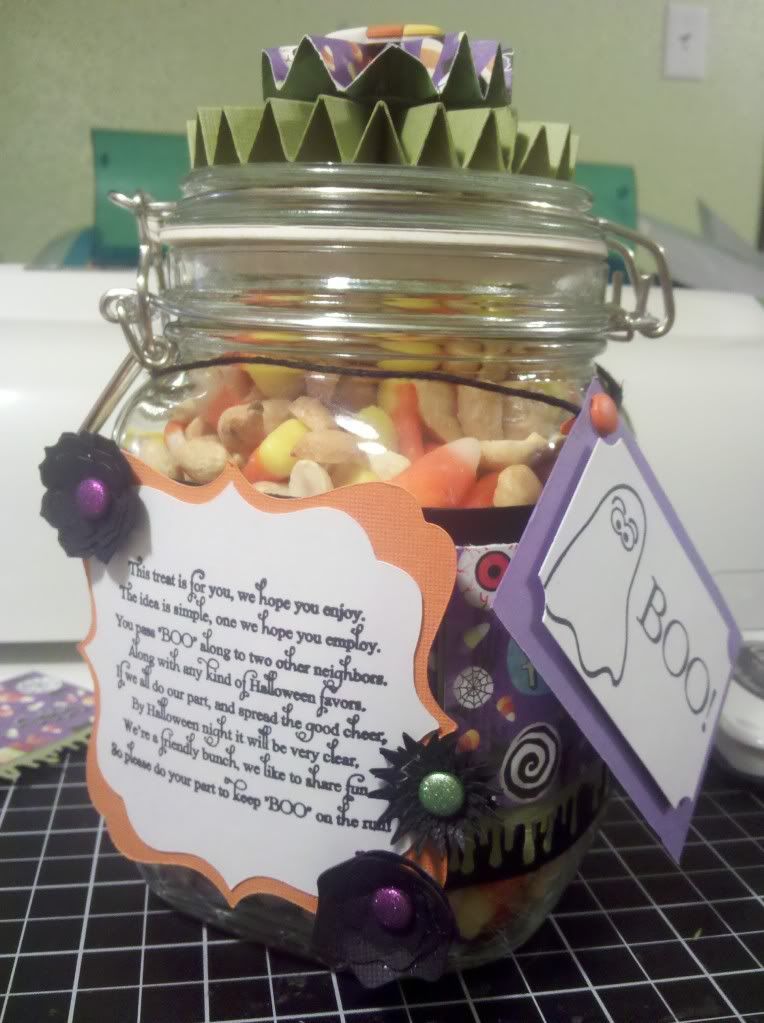
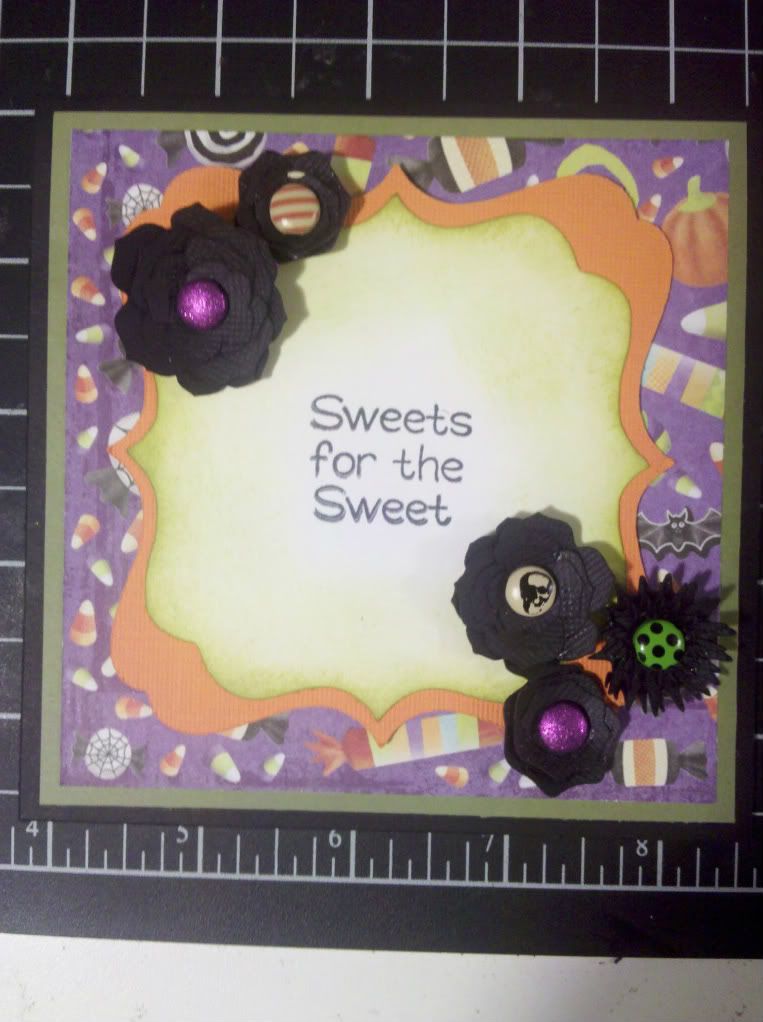
Next, I punched a hole in center of all the flowers and added some "Recollections" brads to the center of the flowers. I added the flowers to the square using glue dots.
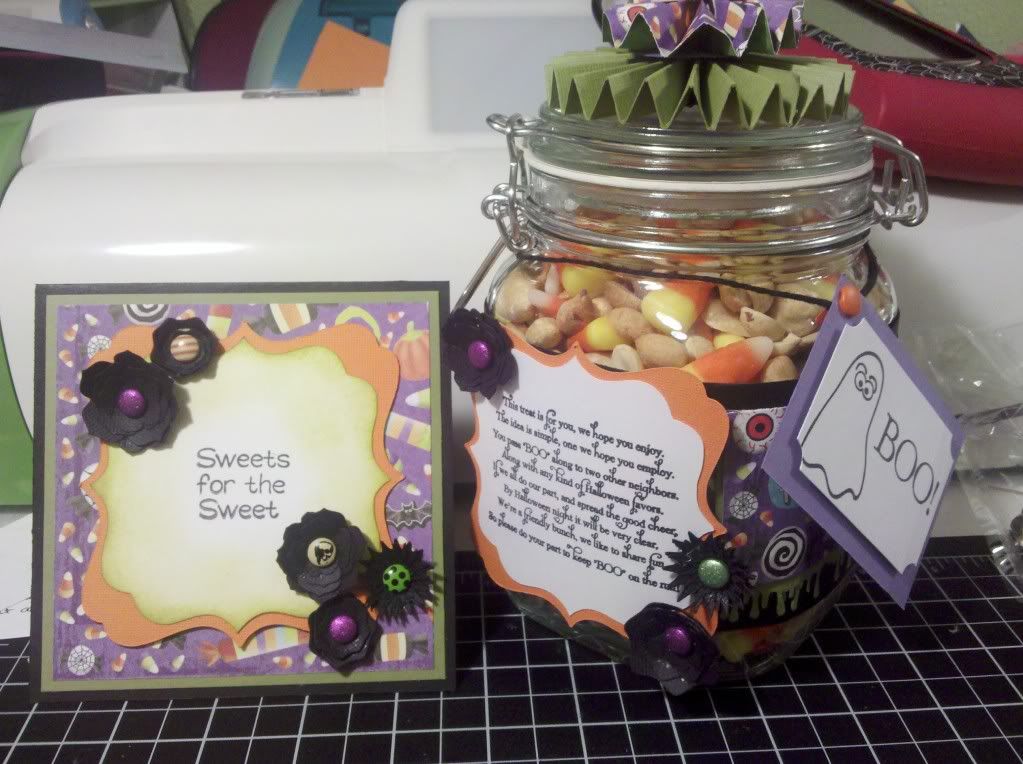
I made a coordinating card to match. I inked the edges of the white square using SU Kiwi Kiss ink. The sentiment in the center is from My Pink Stamper stamp set. More of those pesky flowers. (Don't ya love the brads in the middle?!)
Yep, the sentiment inside is a stamp from the same PaperTrey Ink stamp set. Sorry so fuzzy.
Here they are together, again. Just waiting for me to secretly give away to a friend! Now it's your turn to grab your Art Philosophy cartridge and use square 3, any two flowers and come up with a fun project! (And if you have an extra one lying around, my birthday is later this month, LOL!) Hope you enjoyed my project today. Be sure to visit the other designers from the "Exploring Cricut" Challenge blog for more inspiration. Oh, and don't forget to come back Wednesday to see my "Exploring Cricut" Daily project. Until next time.....









15 comments:
Leah, absolutely adorable. What a cute idea. You definately deserve to be on this team! :)
super cute.. is there a tutorial for the rosette flowers. I have been trying all weekend to get them right.
Just love your project and will be making one of them for sure! Everyone loves the way you gave all your directions which will make it easier to follow. Great to have you on the DT!
Love your project
What fun trick or "TREATS!". The new challenge blog is awesome.
@Amy
There is a great tutorial on Emma's blog creativetimeforme dot com Hope it's ok to post her website here!
Wow Leah, love your project, I've added my entry on the new challenge blog :)
Hugs
Adele
WOW this came out FABULOUS!!! The more I see of this cart, the more I want it!!!
Dana
Danascraftycorner.blogspot.com
Very cute and such a great idea. TFS
motherloves3 at hotmail dot com
Love this idea! I don't have this cart yet either:( There are definitely some awesome cuts on it.
WOW!!!!! These are fantastic Leah!!! Love the treat jar! The patterned bg paper on the card and around the jar are fabulous!! Love the flowers and brads, too. Awesomeness!!!! :)
My favorite fall treat and I'd forgotten about Boo so now I think I wiil start passing him around our elementary classrooms. That should be a lot of fun for the kids. TFS
Adorable!
Leah, I loved this project. I've tried to etch on these jars and it doesn't show up very well. I've never tried to decorate them like this so now I'll have to try it. Super super cute!!!!
What a wonderful project. And the person that receives this will really feel special! TFS
Post a Comment